Tip 1: how to make a cartoon from a photo
Instruction
Option One: You take everything you need for cartoon Items, draw decorations, in general, create an entourage and break to shoot. Your task capture the subject in action. To do this, build the scene as you want to see it on the screen and take a picture. Next, put the minimum changes in the scene and remove it again. Anyone, even the most minor action should be sealed in a separate frame, then the transitions between photos will be smooth and beautiful. For example, if you take pictures of a children's typewriter riding on the table, then every few centimeters of its movement should be removed separately at the same time not to change the angle!
If you wish to make a drawn cartoon with a camera, you will need a lot of paper. On the same principle, we draw a separate frame on each sheet. If we take an example with the same typewriter, first draw it on the right edge of the sheet, on the next sheet - move it a little left, etc. Each sheet is also photographed separately.
After holding all the necessary photos, proceed to the installation. To do this, you can use any video editing program: Adobe Premiere, Sony Vegas, Movie Maker, etc. In turn, insert the captured scenes in the mounting window, and select the frequency change of frames in the settings. If you want the resulting cartoon to resemble an ordinary tape, and not a photo sequence - select the frequency of 10 frames per second and higher, if you want to save the effect of the discrete shooting - there will be 3 frames.
Toys from healthy means often like children even more than purchased. And this is understandable: the toy is done with mom or dad, adults invest part of their soul into it. And such a toy is certainly no one. Material for making a toy machine always finds at home or in the courtyard.
You will need
- - Matchbox;
- - PVA glue;
- - glue "moment" or any universal;
- - color tape or residue self-adhesive films of different colors;
- - 4 small caps from bottles or bubbles;
- - a piece of wire or knitting needles;
- - Shilo;
- - scissors;
- - Knife.
Instruction
Open the matchbox. From the cover, make the cabin, from the box - body. To do this, the lid is enough to put it vertically and glue it to the smallest piece of the box. The lower lines of the cabin and body must be on the same level, otherwise it will be problematic to put the car on the wheels.
Pour the bottom of the body. You can first draw everything on paper. Body take the outside and inside. Cut 2 rectangles equal to the bottom area. Stick them inside the box and below. Cut the strip, the length of which is equal to the perimeter, and the width is the height of the body. Get it on the inner part of the body. For an external part, cut it out the same strip, only without one short side.
Cabin start to shine from the upper plane. The rectangle should be a little more so that you can stick it on the verge of the box. The same rectangle glue below. For the side sides, cut the ribbon, the width of which is equal to the height of the cab, and the length is the perimeter without the rear wall. For the rear wall cut the rectangle height from the top of the cabin to the body. Make from the tape or the film of another color of the windows - small squares. You can make the doors, sticking on the side of the cabin of rectangles.
Shil punctuate through the cabin. Plugs should be at a distance of about 0.5 cm from the bottom line, approximately in the middle of the cab. Exactly the same punctures on the body, retreating from the rear line it is the same distance. The size of the holes should be so that there freely entered the blank.
Cut from a piece of wire 2 axes. The length of them should be slightly more width of the machine so that the wheels can be attached there, and the gap remains. Insert the slices of the wire into the holes on the cabin and the bodies. Lubricate the ends with glue and glue the corks from small bottles outside outward.
Video on the topic
Helpful advice
The machine can be made from any box suitable in size. It can be more larger.
Fitting a plastic bottle suitable (for example, from under shampoo), you can even make a racing car.
Now the camera is in every home, because it is a completely necessary thing: and the child is photographed, and the family celebration capture. In addition, the photo engineering market is constantly updated with novelties, old models are cheaper in their eyes, therefore you can easily purchase a camera.
Digital cameras: Present and future
Film cameras irrevocably went into the past, because it is now easier to take pictures on a digital camera and immediately see what happened on the computer. In addition, the computer makes it possible to edit the resulting image at its discretion. It is convenient, because in the last decade, digital cameras rapidly captured the entire market of this segment.
Among the digital cameras are highlighted at least soap, compact, mirror cell. How to determine the choice? You can, of course, and the seller in the store ask. However, it often turns out that he knows even less than his buyer. Or, on the contrary, turn out the bunch of incomprehensible, nothing for the uninitiated person is not meaningful terms.
So, for a start, it is necessary to determine what the camera is necessary for which it is necessary and which budget is laid for this purchase. Then it is necessary to arm a small knowledge in the field of photographic equipment.
It is worth knowing that the soapbox is a fully automatic camera in which there is an outbreak and a non-removable lens, more often - zoom. This is one of the cheapest and affordable types of photographic equipment. For example, the most inexpensive options: Panasonic GF3, OLYMPUS E-PM1. Today, prices for cameras-soap are from 2.5 thousand rubles.
A compact camera class is higher than the soapbox, respectively, and costs more. It has manual settings that are absent from the automatic soap box. Also has a great weight compared to soapboxes, the best photosensor (matrix) and a lens having a good lens. Sony Cyber-Shot DSC-RX100 will be a good option among compact.
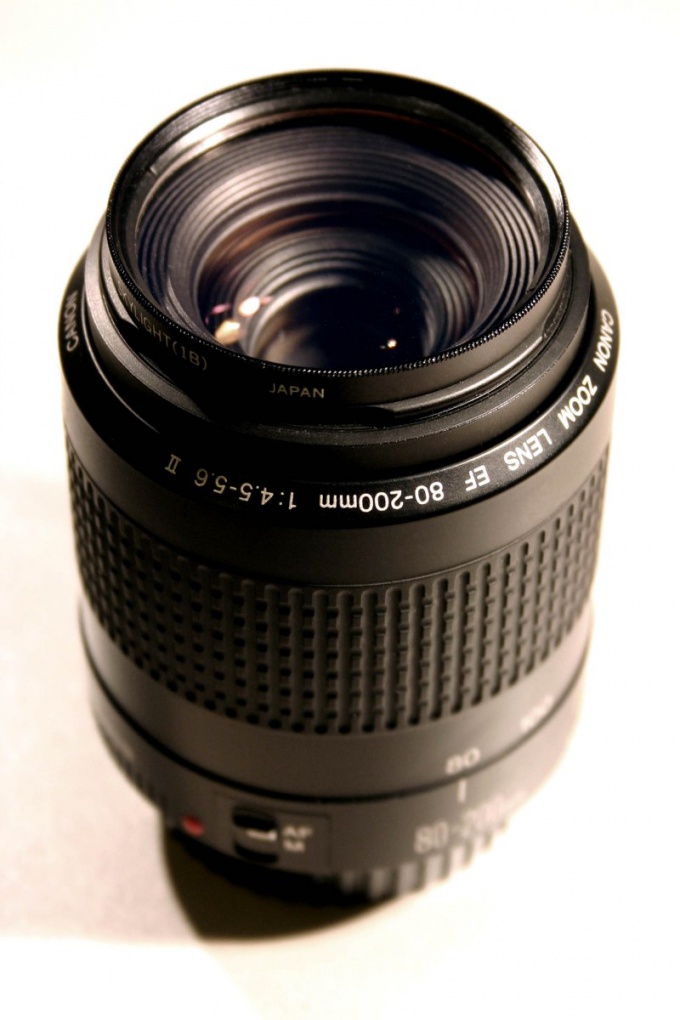
Mirror cameras have a manual setting of all elements, and the basic settings are made for convenience directly on the camera body, and not harnessed in the menu, like a compact. The species have the ability to change the optics, which is not so thin and compact, as well as a big high-quality mathica. Have a fairly large weight. This is the best that you can buy from cameras. Although their cost begins from 25 thousand rubles. However, the mirror camera can shoot objects in motion, which you will not say about the soap. Nikon D5100 mirror camera will be a good acquisition.
"Advanced" compact
If there are no funds on the mirror camera, then from the endership, acquire an "advanced" compact with the possibility of changing optics. If you look good, you can find such a camera with a big, like a mirror, matrix. In general, the quality of the matrix when choosing a camera is important, because the image is born in this place. The ability to change the lens is not the last characteristic of the camera, because each lens serves for its purposes. Canon PowerShot SX120 IS, Nikon Coolpix L110, Nikon Coolpix P500 - These are compact non-sensory cameras of good quality.
Video on the topic
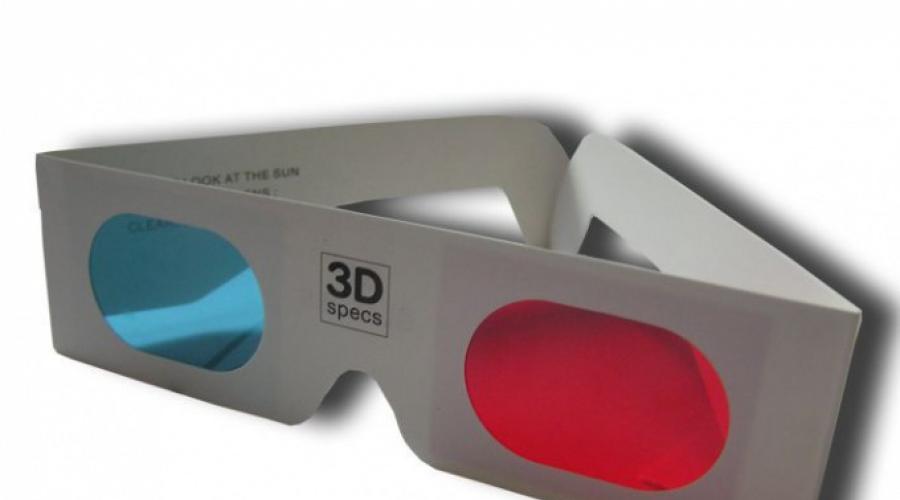
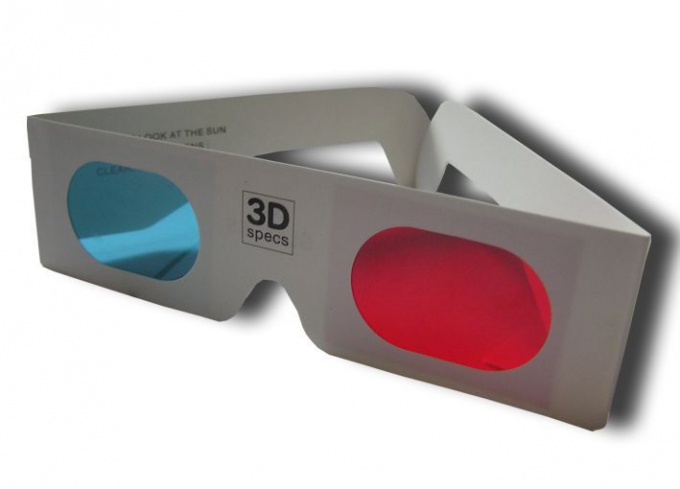
Remembering the emotions that have arisen when watching a movie or a cartoon in a 3D cinema, you may want to have 3D at home. But for this you need to acquire expensive 3D TVs and 3D glasses. But there is a viewing option 3D photo / video and on the usual monitor, these are so-called anaglyph 3D glasses that cost much cheaper, but they can be made.
You will need
- - Raming from plastic glasses (or cardboard)
- - transparent film from Beijik (or transparent plastic)
- - markers of red and blue colors
- - Glue
Instruction
It is necessary to choose a frame. If there are old unnecessary sunglasses, then you can take them. If there are no such, you can make a rim from thick cardboard. The pattern for homemade rim can be found on the Internet.
Now you need to make lenses. The material for lenses can serve as white transparent plastic or a film from Beijik. If you used a plastic frame (from sunglasses), then you will need to cut the same lenses (size and shapes) from the material you choose for lenses. If you used a cardboard frame, the lenses should be slightly more than the slots in the frame (so that the lenses can be glued to the rim)
Deciding with a rim and making lenses, you need to paint them. To do this, you can use markers. Anagly glasses are of different colors: red-blue, yellow-green. I recommend making red-blue glasses, because This is the most common type of anaglyph glasses, which are made in the first place. But in the manufacture of such 3D glasses, it should be considered that each color belongs to its eye. In this case, the red color is for the left eye, and the blue is for the right.
The final step in our work is to insert (glorify) lenses in the frame. Now you can start watching 3D movies or cartoons!
Some information about what the cardboard points differ from plastic. The fact is that glasses made in plastic frames are more durable, while cardboard will be very quickly, they are rushing. Also when viewing 3D may highlight sweat on the face. This is especially happening when viewing 3D for the first time.